If you're using our timing app without taking registrations in our system, you need to start by creating an event in Admin so you can add your participants. This is the procedure to follow for a TimingApp race:
Demo Login
First of all, if you want to try it out and have a look at the timing app before deciding if it's a good fit for you, you can use our Demo Login. We have all different start types set up as demo races, so feel free to try it as much as you like. Start by downloading the app in the App Store or Play Store.
To sign in, use the following:
Username: test.demolopp@raceid.com
Password: race123
Timing App Guide
You can find our complete guide for the timing app here.
Create Organizer Account
When you have decided to use the app you need to prepare your event in Admin. Start by creating an Organizer Account here.
Admin Introduction
Check out our Admin Introduction, here.
Fill out Bank Details
Make sure you update your bankinformation in Admin, here.
Create Your Event
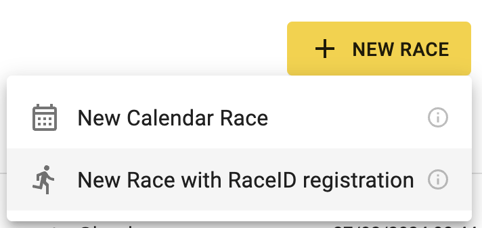
Next step is to create a new event in Admin. Even though you will only use the app and not take registrations in our system, you need to chose "New Race with RaceID registration".

This is how you setup a new event and create a new distance. You can also add different classes to your distances, like this.
When you have created your event, you need to send it to us for approval.
Import Your Participants
To add your participants, you can do it either manually or as an excel import:
Prepare for Race Day
Last but not least, make sure to check out this section in the timing app guide to prepare for your race day:
